What Do You Need to Change Your Brakes?
Here’s a quick list of what you’ll need to have on hand before changing your car’s brakes:
- Safety glasses
- Floor jack (car jack)
- Jack stands
- Mechanics gloves plus nitrile gloves
- Wheel chocks or plywood
- Flathead screwdriver
- Breaker bar
- Socket set/ratchet-metric or SAE (inch)
- Wrench set-metric or SAE (inch)
- Allen or Torx bit (for certain vehicles)
- Heavy hammer
- Brake caliper compression tool or C-clamp
- 3/8” or 1/2” torque wrench
- Wire brush
- Bungee cord or zip ties
- Threadlocker
- Parts cleaner or brake cleaner
Steps for Replacing Your Rotors, Brake Pads and Calipers
Step 1: The first thing you’ll need to do is loosen the lug nuts on your car’s wheels. Engage your handbrake, then use your breaker bar to loosen the lugs by rotating them counterclockwise. Set the breaker bar to a socket size that matches the lugs. This will typically be in the 16 to 20 mm range. Don’t remove the lugs. Simply loosen them to the point that you will be able to remove them with a ratchet.
Step 2: Set the jack under the car’s jacking points, then jack it up. Now, place the jack stands underneath. Make sure that your car is on sound footing. This is critical for your own safety as well as the vehicle’s.
Step 3: Remove all four wheels. If you’re up for it, clean the brake dust off them. You’ll need to repeat the next steps four times with each brake assembly.
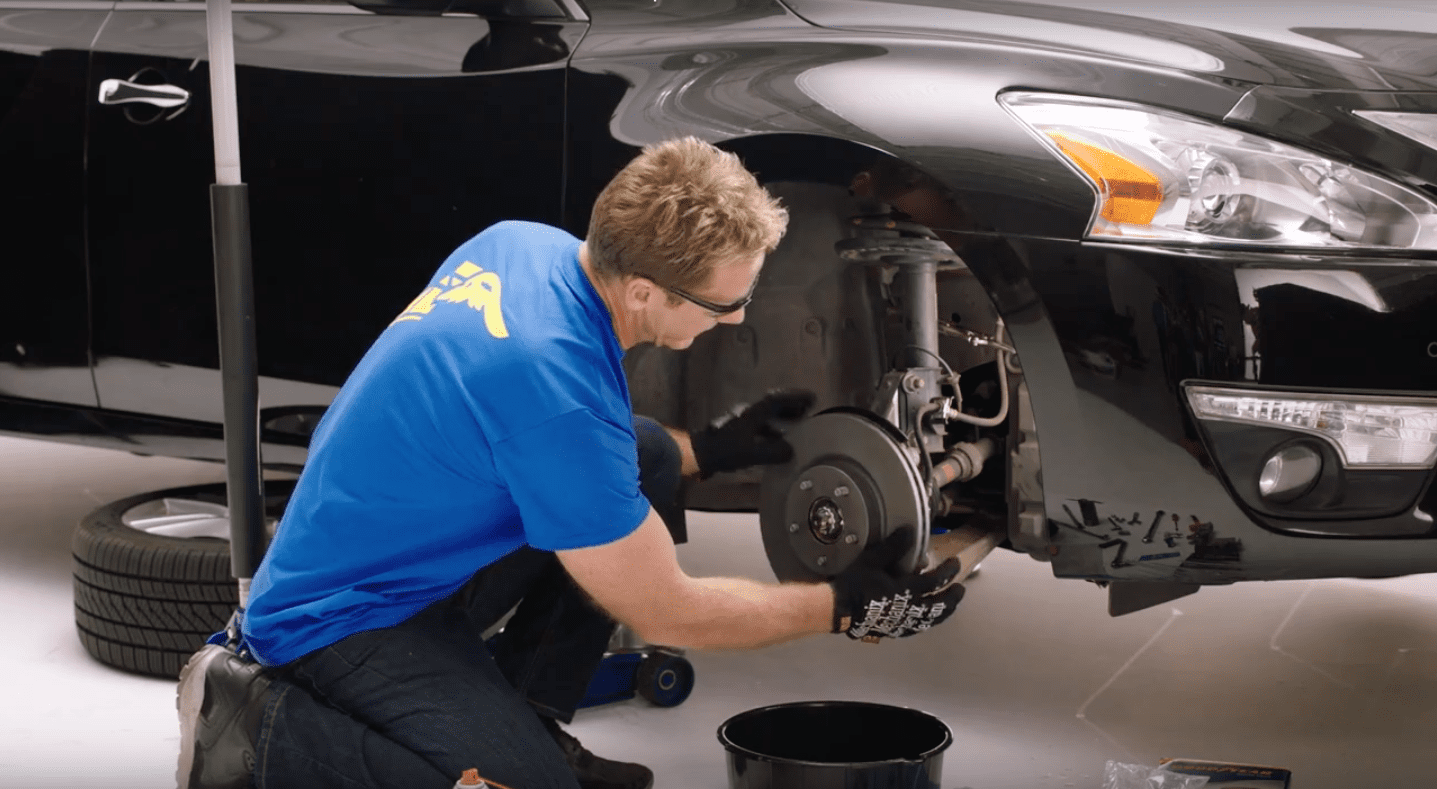
Step 4: Loosen the caliper. The caliper is held in place by a pair of 12 mm or 14 mm bolts. Remove these and the caliper will slide out. Secure it and make sure it doesn’t hang down.
Step 5: Take your old brake pads out. They’re often attached with metal clips and you might need to use some force to pop them out.
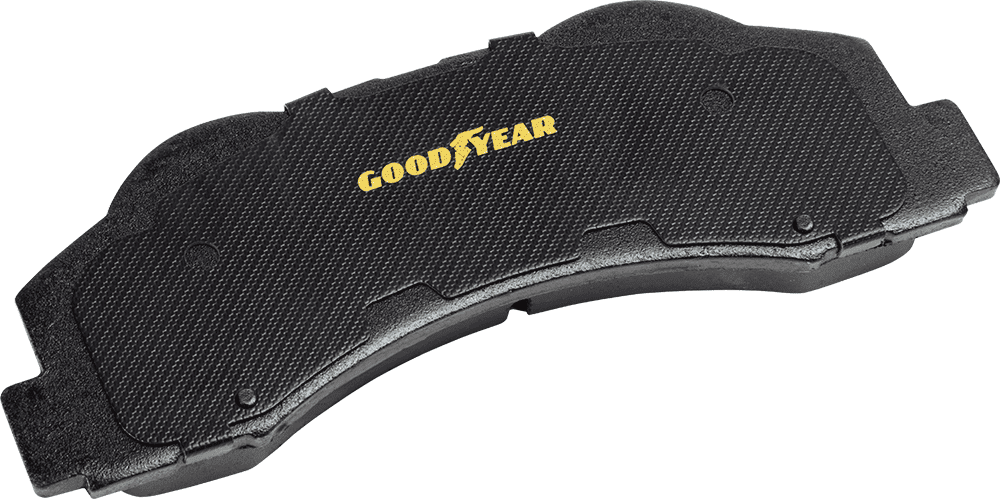
Step 6: Prep your new brake pads by spreading some Loctite on the back of the pads and on the contact edges. Be careful not to get any of it on the inside of the pads, though.
Step 7: You’ll now need to remove the caliper carrier. This is secured to a hub by a pair of 17 mm or 199 mm bolts. Use your breaker bar to remove these. If they’re in tight, you might need to use a mallet with the bar.
Step 8: It’s time to remove the rotor. Unscrew the locating screw, then hit the rotor a couple of times with your hammer to remove it.
Step 9: Before putting in the new rotor, you’ll want to use your wire brush to remove any rust on the hub. If you have WD-40 on hand, you can spray it on to dissolve rust.
Step 10: Prep your new rotor for installation. Make sure to wipe off any packaging residue with brake cleaner.
Step 11: Set the new rotor flush against the hub. Replace the caliper carrier bolts. Use your breaker bar to tighten them.
Step 12: Take the cap off your brake reservoir. Then use the C-Clamp or compression tool to compress the piston so that it sits flush with the caliper’s housing.
Step 13: Replace your wheels. Tighten the lug nuts by hand. After you’ve lowered the car jack, use the breaker bar to further tighten them.
Step 14: Pump the brake pedal at least three times. When you feel a good amount of resistance, it means you’ve reached the right brake pressure.
What to Do After Replacing Your Brakes
The final step is taking your new Goodyear brakes out to seat the new brake pads. An empty parking lot is ideal for this. A good quality brake check procedure includes performing 15 stops from 35 mph to 40 mph down to 5 mph. Perform nice easy stops and do not slam the brakes. This procedure seats the pads to the rotors, creating optimal braking performance and reducing noise and vibration.